Some say, new year, new me; I say, new year, new blog. I’m incredibly excited to finally kick it off with the year of the pig!
Lunar New Year, or Chinese New Year (CNY), is a time for celebration, family, and of course, food. Since moving away from home, I’ve found myself celebrating with friends and in recent years, even hosting. Unfortunately, life has gotten too busy lately so no hosting this year. However, I was blessed to have been invited to my friend Kristina’s for her CNY party.
Kristina is a talented watercolorist, planner of dinner parties, and resident dumpling making extraordinaire (check out her blog EatChoFood). When I asked her how I could help, she asked for the red bean macarons I made for CNY last year.
Around this time last year, I was on a mission. I was DETERMINED to master the french macaron. I was obsessed; intent on being able to make macarons with their perfect little feet and smooth, delicate shells, but consistency was my problem. I would make one batch, feel really great about it and then fail miserably in the next batch. I was so engrossed in macaron making, I completely forgot about Chinese New Years until days before!
When I start something, it’s hard for me to stop because I know that once I stop, I’ll probably never pick it back up. It’s like running a marathon (or in my case, half marathon); you know that if you stop to walk, there’s no way you’re going to pick the running back up because your brain will have finally figured out that the rest of your body is in SO MUCH PAIN. Or maybe that’s just me.
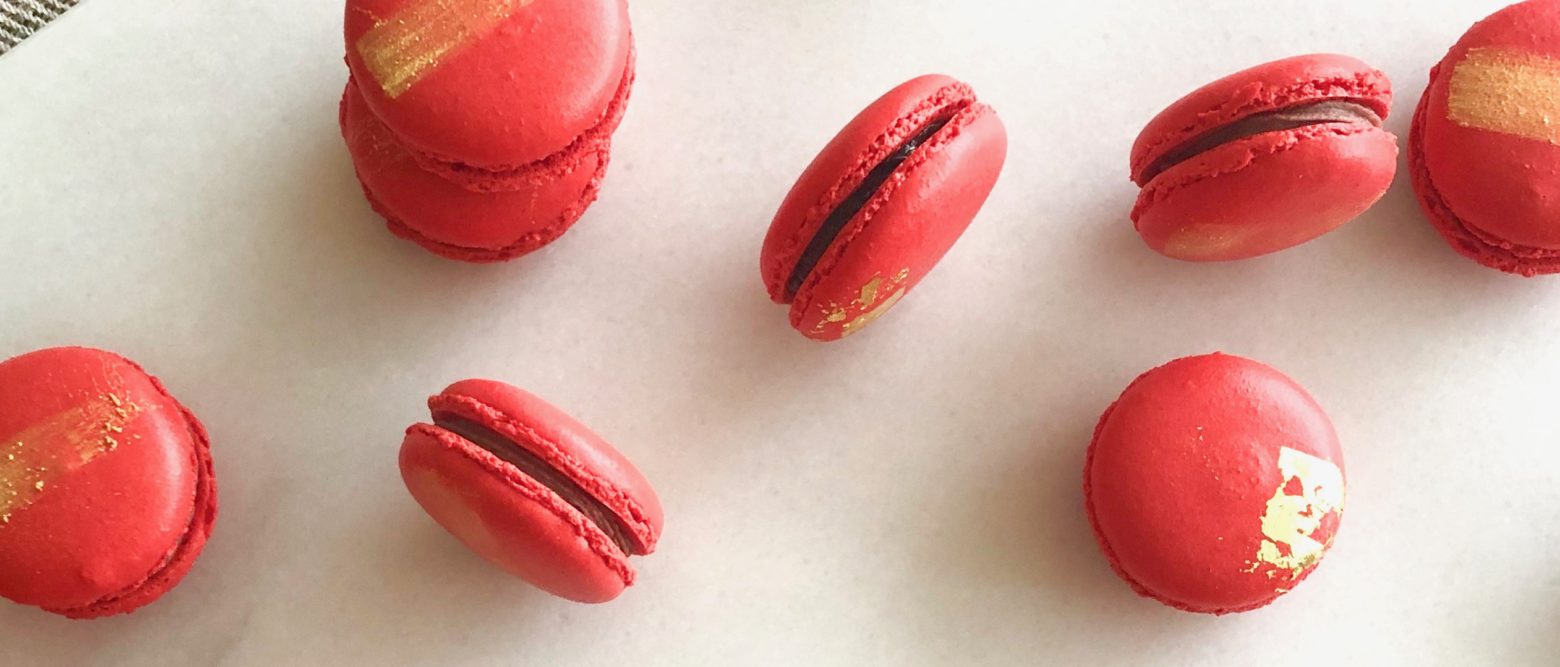
Anyway, long story short, with only a few days to plan, I decided to combine my obsession with the holiday and fill the tasty shells with the classic Asian flavor, red bean. Instead of filling it with straight red bean paste, I decided to make it into a simple buttercream. Check it out below and Happy New Year everyone!
A note on macaron making. As most people will tell you, macaron making takes practice. Of the many recipes I’ve tried, I’ve found that the ingredient ratios are all the same; it’s the technique that will take time to figure out; kind of like tennis. I’ve read many blogs and books and watched numerous videos. Everyone will have something different that they found was the key to their success. I’ll save my mistakes and learnings for another day but if you have questions while you make these, feel free to DM me on instagram @candiedpomelo. Good luck!
Macarons (Makes 24 Macaron Sandwiches)
- 150g Almond Flour
- 150g Powdered Sugar
- 120g Egg Whites
- 150g Granulated Sugar
- 38ml Water
- ~2 tbsp Red Gel Food Coloring (optional)
- ~2 sheets of 3inx3in Gold Leaf (optional)
Preheat your oven to 300 degrees F. My oven tends to run very hot so you can bump this temp up 10 degrees if your oven is pretty accurate. Prep two baking sheets lined with parchment paper (or silpat). If using parchment paper, I typically put a template underneath the parchment paper to help guide my piping later.
Sift together the almond flour and powdered sugar. Do not skip this step! It’s important to help eliminate lumps in your batter.
Make a sugar syrup in a small saucepan by bringing the granulated sugar and water to 240 degrees F.
While the sugar syrup is heating, place half (60g) of the egg whites in the bowl of your stand mixer with the whisk attachment and beat until frothy.
Once the syrup is ready, turn your mixer to the lowest setting and pour the syrup in, between the whisk and the bowl. Then, turn the mixer on high; beat until medium firm. This is called an Italian meringue.
Pour the remaining half (60g) of egg whites in the almond flour. Using a rubber spatula, mix until homogeneous. If you’re coloring your macarons, here is where you should add it. Add the coloring and mix until the color is uniform throughout.
Using a rubber spatula, mix a quarter of the meringue into your almond mixture to loosen the batter. Then, add the rest of the meringue and continue to mix until the batter is uniform throughout. Be careful not to over mix while also making sure not to under mix. Your batter should be uniform but not runny. You can test your batter by lifting your spatula and letting the batter drizzle onto itself. If the drizzle immediately breaks mid drizzle, it’s under mixed. If the drizzle disappears within 8 seconds of falling back into the batter, it’s over mixed.
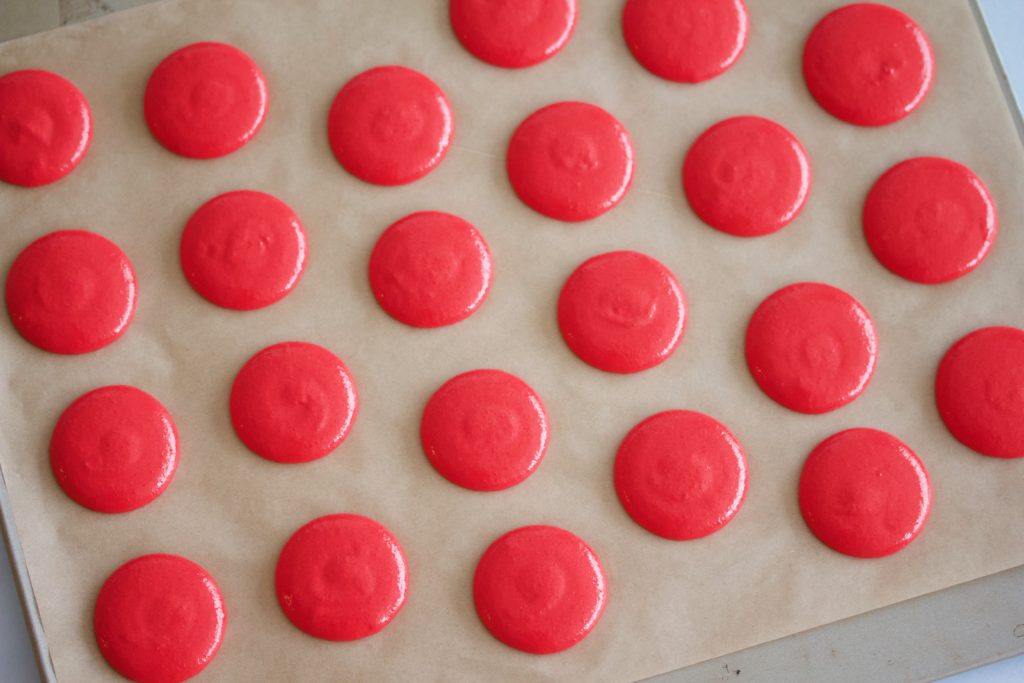
Pipe 1.5inch rounds onto the prepared baking sheets. If you have piping tools, I used the Wilton 12 tip. I’ve used smaller and larger tips in the past and like the 12 the best. This is really just personal preference.
Once the batter is piped, lift the baking sheet about 6 inches off the table and drop on a kitchen towel or cloth placement. This helps to get rid of air bubbles. The towel helps with the noise. Let the piped macarons rest* for 10-15 mins (depending on the humidity in your kitchen); you want to be able to very gently tap the top of the piped macaron and not have it stick to your finger.
Place the piped macarons in the preheated oven. Bake for 12-14 minutes, rotating halfway through baking if you have a conventional oven.
Remove from oven and let cool. Baked properly, your macarons should come off your parchment paper nearly clean.
*While resting, the macaron should smooth out slightly but not spread more than a few millimeters. If it doesn’t smooth out at all, the batter is likely undermixed. If the batter spreads too much, it’s likely overmixed. In either case, you won’t get the perfect macaron but they’re still very much edible once baked.
Red Bean Buttercream
- 400g Fine Sweetened Red Bean Paste (you can find this at most Asian grocery stores or on Amazon)
- 3 tbsp Unsalted Butter (at room temp)
- 2 tbsp (or to taste) Powdered Sugar
Place the red bean paste and butter in the bowl of a stand mixer with the beater attachment. It’s important that your butter is at room temp or else the buttercream will be lumpy.
Turn on your mixer to medium speed and beat the butter and red bean paste until smooth. Turn off the mixer and add the powdered sugar. I didn’t use much sugar because the bean paste that I bought was already sweetened. If you buy unsweetened bean paste, you’ll likely want a bit more powdered sugar. Beat the buttercream until it is a light pale maroon.
Assembly
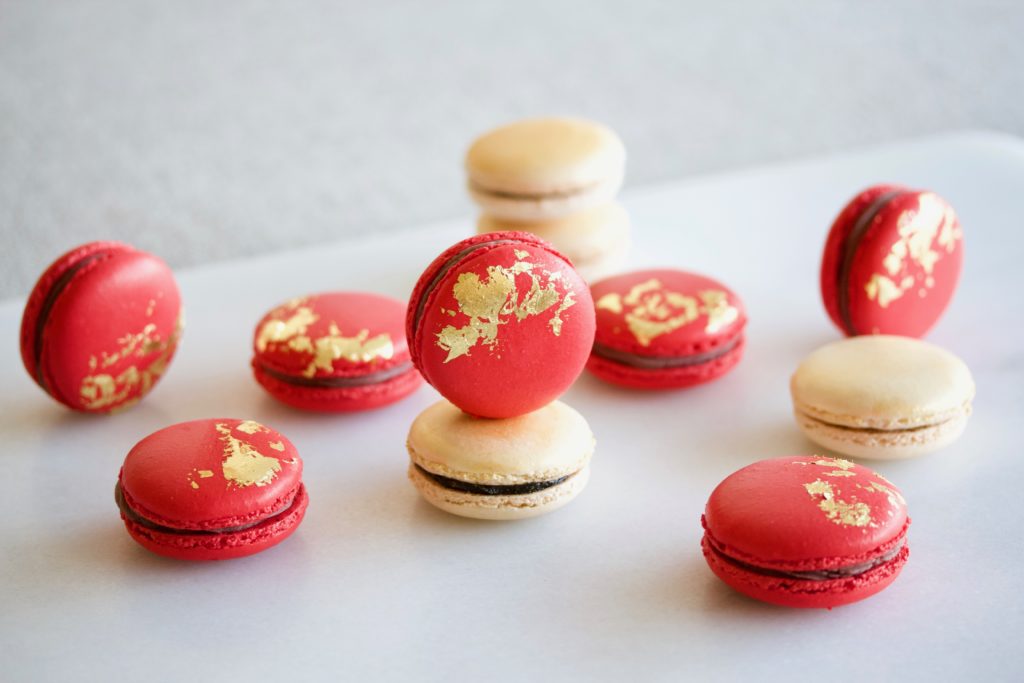
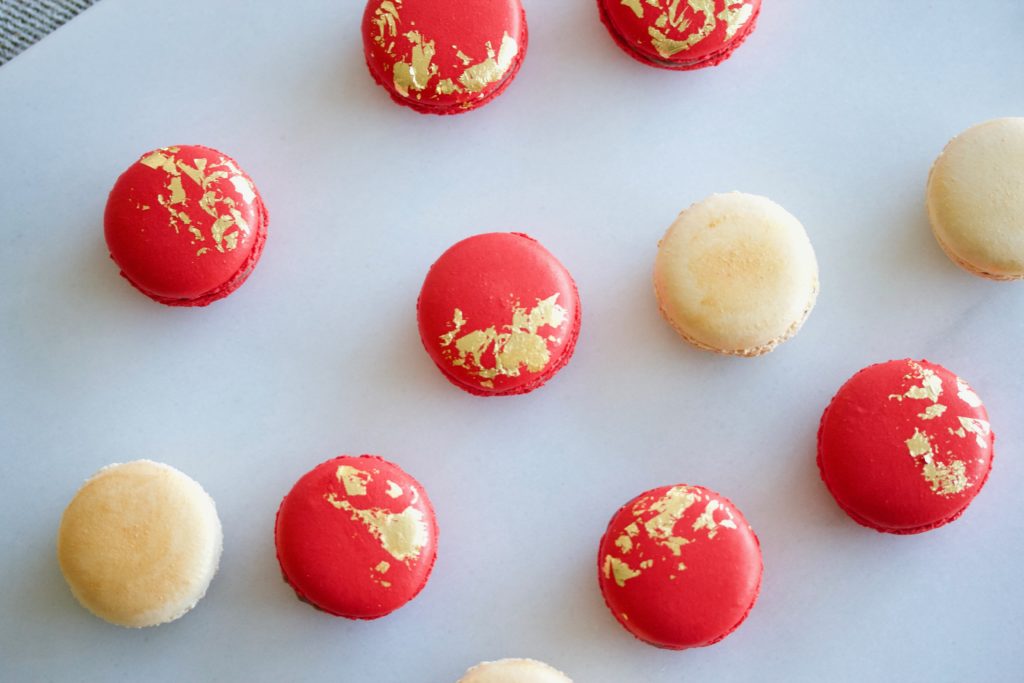
Once the macarons are cooled, match the cookies so they’re paired in similar sizes. Arrange your paired macarons in rows and pipe** the filling onto the flat side of one of each pair of macaron. Top the filling with the other half of the pair to finish.
If you’re adding gold leaf, gently brush the macaron with a bit of water on the parts you want to cover with gold leaf (VERY lightly, just barely touching it with water). I use a small, brand new, paint brush to brush on the water. Take your gold leaf sheet, still on the wax paper it came on, and gently press it to the damp area of the macaron. Peel away the sheet; like peeling a temporary tattoo. The gold leaf should adhere to the areas that were brushed with water.
**If you have piping tips and piping bags, I used a 12 inch piping bag and the Wilton 21 tip to pipe the red bean buttercream. If you don’t have piping tools, you can make a piping bag out of a Ziploc bag; just snip one corner. You can also just use a spoon to spoon drops of filling onto the cookies but careful not to press too hard on the cookie.